Black and Purple Felt Cloak Part One (Back Post)
Hi there, today I'm going to be putting up the photos from the Black and Purple Felt Cloak. I am not sure if it is possible to make a less historically accurate cloak, but I am open to the idea. That being said it is WARM, I have worn this thing in the dead of cold Michigan nights. I've even worn it to not historical events because I knew it would keep me warm. I love this cloak completely.
The number one reason why this cloak is made of weird fabrics is because both of them were just lying around my house. I can no longer remember when I got them, or what they were for.
List of tools used (To the best of my memory)
I wholly recommend a dress form for this project but I understand the cost is prohibitive. Try looking at thrift or antique shops, I used the dress form here to help support the weight of this incredibly heavy project.
The finished product:


It seems that I do not have any pictures of this after I attached the hook closure. A quick note on the closure, DO NOT put it at the edges of the cloak, I did that with my first cloak and there is ALWAYS a large gap down the front of the whole cloak. Worse yet the gap gets larger the further down the cloak you get. That gap will let every little bit of heat out. Finally, the most tragic part of all is the closure itself will even prevent you from being able to fully close the cloak around your neck. It is exasperating.
The way to fix this is to purposefully make the cloak overlap. By a couple of inches at least. This will hold the cloak completely closed for you and free your hands for praying for it to warm up.
I ended up deciding to use the linoleum in my house as a starting point for a 'straight' to align my ruler.


You are going to need
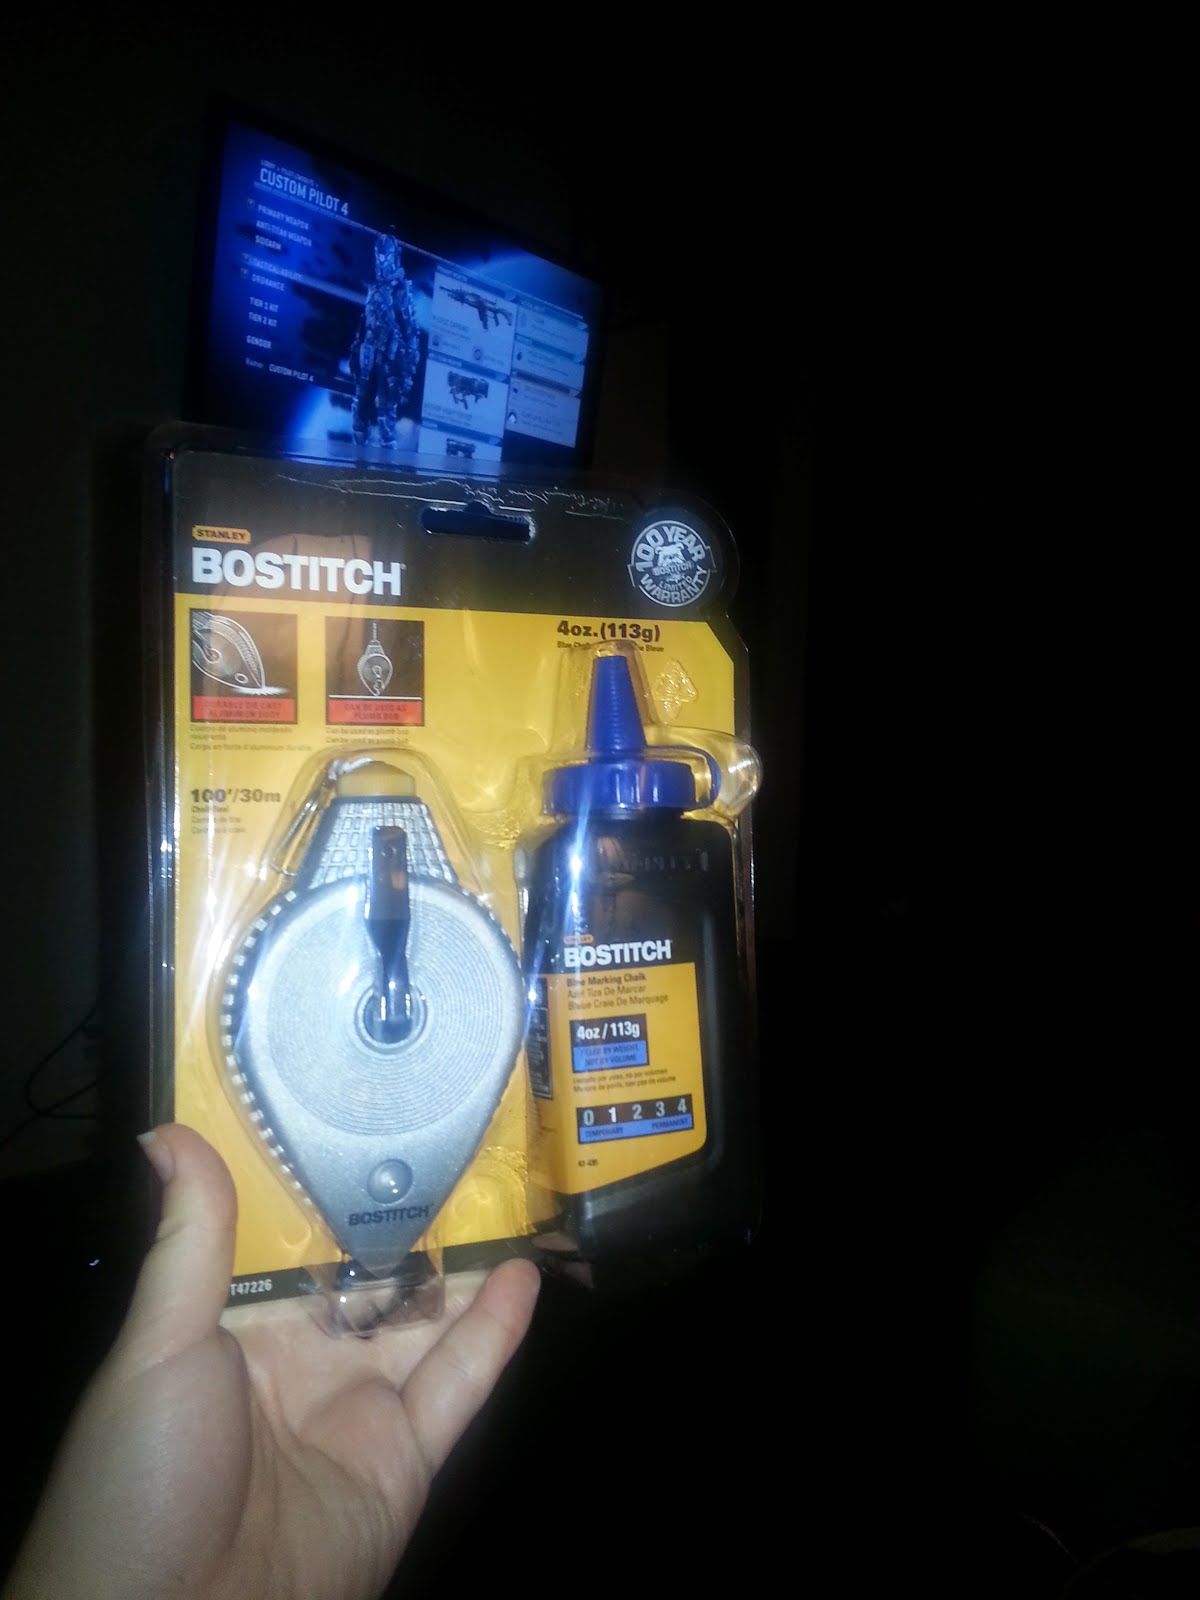
Let's talk about that chalk line for a moment here. I originally made this cloak for a 6'1" man. It was meant to come mid-calf him, so the lines I needed to put in to form the triangle were far too long for my beloved meter stick. So I got up in the middle of this project, and well into the night, and ran to Lowes to get a Chalk Line. We'll revisit him later.
Now, unfortunately, I cannot completely remember how I decided what size I was going to make each triangle panels. Fortunately, I took photos of some of my maths. Which I often just chalk onto my projects.

The bottom length of the cloak is actually pretty arbitrary. I like big, warm blanket like cloaks, so I opted for a length of 78 inches on this cloak. Honestly, I believe I draped the fabric on the guy and visually decided on the final width.
Above you can see my very basic math used to determine the bottom width of each triangle and that produced these two.


Sew the large four of together to make the majority of the cloak.
The two right-angled triangles you will sew to the cloak on each of the edges WITH THE RIGHT-ANGLED SIDE OUT. This will create a straight edge to hang in front of you to close the cloak.
For the sake of loading this page I am going to split this into two parts click here to go to the second half!
The number one reason why this cloak is made of weird fabrics is because both of them were just lying around my house. I can no longer remember when I got them, or what they were for.
List of tools used (To the best of my memory)
- Yard/Meter Stick
- Chalk Line (I love this thing SO much. Go buy one)
- Straight Pins
- Iron & Board
I wholly recommend a dress form for this project but I understand the cost is prohibitive. Try looking at thrift or antique shops, I used the dress form here to help support the weight of this incredibly heavy project.
The finished product:


The way to fix this is to purposefully make the cloak overlap. By a couple of inches at least. This will hold the cloak completely closed for you and free your hands for praying for it to warm up.
Part One: Squaring Off
I cannot stand working with the random edges a cut of fabric is always going to have. This is where my extra large meter stick pays off. This thing is more often than not a huge pain in the butt to work with. It hardly fits on any table I own let alone my sewing table. It does, however, fit on the floor. |
| This is what I am talking about. |


Part Two: Triangles
Okay, now to get into the actual construction of the cloak. The first thing we are trying to make are two half circles. One in black and one in purple, for the inside and outside. I know I have two purples here but you cannot really see the triangles in the black because I used black thread on black felt.
 |
| Oh I know these triangles are far from perfect |
- four triangles like the four largest ones here
- two half triangles with right corners
Let's talk about that chalk line for a moment here. I originally made this cloak for a 6'1" man. It was meant to come mid-calf him, so the lines I needed to put in to form the triangle were far too long for my beloved meter stick. So I got up in the middle of this project, and well into the night, and ran to Lowes to get a Chalk Line. We'll revisit him later.
 |
| This one in particular |
Now, unfortunately, I cannot completely remember how I decided what size I was going to make each triangle panels. Fortunately, I took photos of some of my maths. Which I often just chalk onto my projects.

The bottom length of the cloak is actually pretty arbitrary. I like big, warm blanket like cloaks, so I opted for a length of 78 inches on this cloak. Honestly, I believe I draped the fabric on the guy and visually decided on the final width.
Above you can see my very basic math used to determine the bottom width of each triangle and that produced these two.


I used my chalk lines to make these. After measuring out the bottom widths on the top and bottom of the fabric all I had to do was conscript a volunteer to hold one of the ends while I held the other. Each of us had to snap the line at our ends to get it across the whole length of the triangle.
Before I decided to make my life easier with this eight dollar investment, I had originally tried laying these lines with a piece of yarn stretched from point to point. Then drawing down that, it made for very crooked lines.
 |
| Here I've pinned the one corner down |
 |
| Here I've run the red yarn in the direction of the triangle. |
Cut those triangles out!!

Now for some sewing!! We are finally going to make these two!

Sew the large four of together to make the majority of the cloak.
The two right-angled triangles you will sew to the cloak on each of the edges WITH THE RIGHT-ANGLED SIDE OUT. This will create a straight edge to hang in front of you to close the cloak.
For the sake of loading this page I am going to split this into two parts click here to go to the second half!

Comments
Post a Comment